
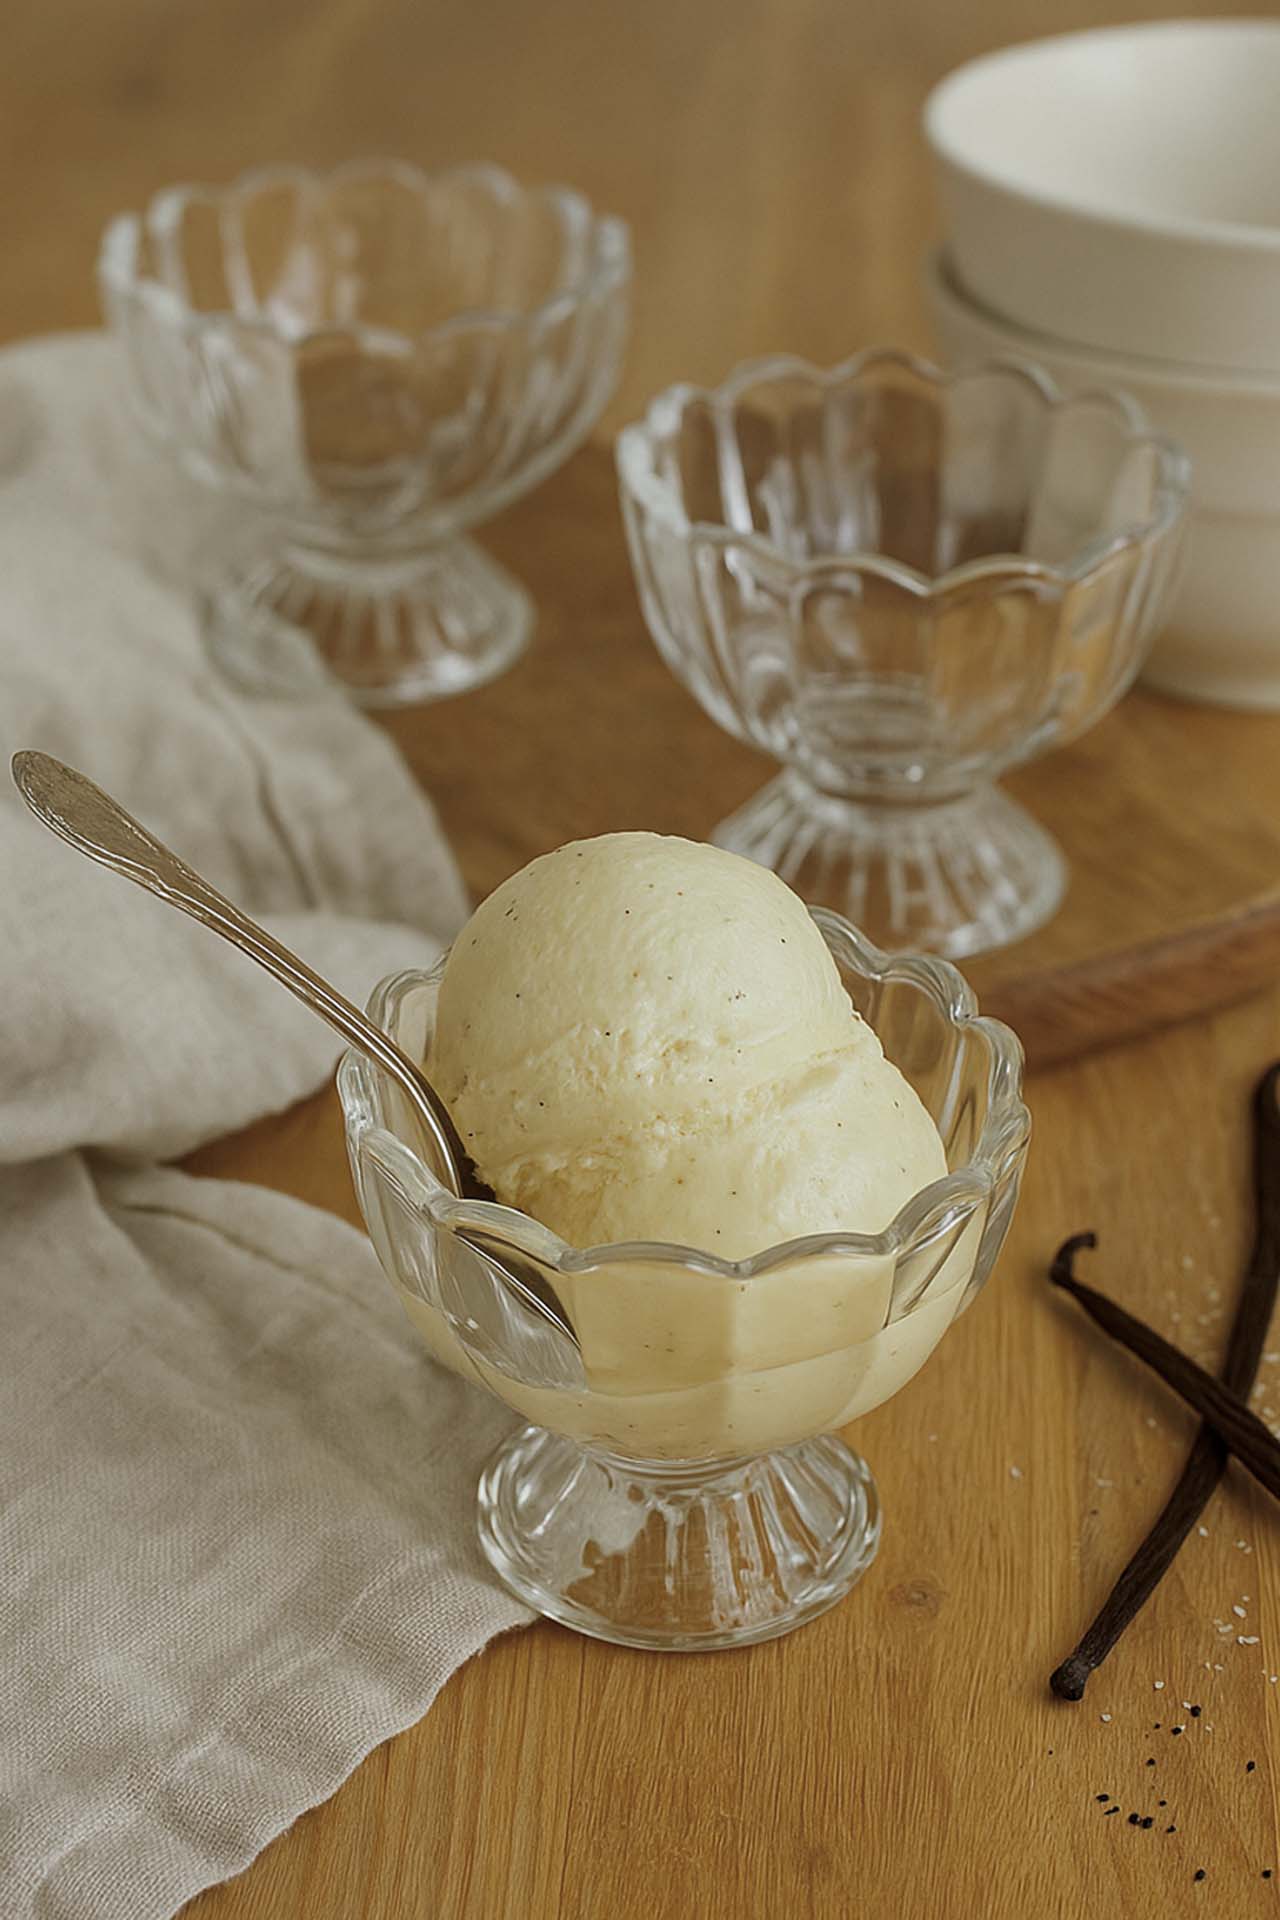
A Slow Summer Treat Made from Scratch…
Summer is sweeter when you slow down for it. Homemade French vanilla ice cream is one of those recipes that turns an ordinary afternoon into a memory. It’s simple, rich, and full of that old-fashioned flavor you can’t buy in a tub. And the best part? You don’t need to be an expert to make it. Just a few simple ingredients, a little time, and the willingness to pause long enough to enjoy it.
This French vanilla homemade ice cream is simple, classic, and oh-so-creamy.
It’s the kind of dessert that doesn’t need sprinkles or sauces (though you’re welcome to add them)! It stands on its own, with honest ingredients – made to be savored one slow bite at a time.
This isn’t just dessert. It’s a summer memory in the making.

Why I Make It From Scratch
Most store-bought ice creams are filled with things I’d rather keep out of our kitchen—seed oils, preservatives, gums, and artificial flavors. But when I make homemade French Vanilla Ice Cream from scratch, I get to keep it simple: cream, milk, eggs, sugar, and real vanilla. Nothing fancy. Nothing fake. Just honest ingredients, stirred with love, and served up as a sweet reminder that homemade, will always be better.

Homemade French Vanilla Ice Cream
This version is lighter than traditional French vanilla, with just enough richness from the cream and yolks, but without the heaviness.
Yields: 1 quart
Prep Time: 20 minutes
Chill Time: 4+ hours (or overnight)
Churn Time: 20-25 minutes
Freeze Time: 2+ hours for a firmer scoop
Tools You Will Need
- Kitchen Aid Mixer
- Kitchen Aid Ice Cream Attachment
- Sauce Pan
- Loaf Pan
- Ice Cream Bowls
- Ice Cream Scoop
Ingredients
- 1 ½ cups heavy cream
- 1 ½ cups whole milk
- ¾ cup organic cane sugar (or adjust slightly to taste)
- 4 large egg yolks
- Seeds scraped from 1 vanilla bean
- Pinch of fine sea salt
Instructions
Read the instructions all the way through before starting.
1. Freeze the bowl.
The day before you plan to make ice cream, place the ice cream maker’s bowl in the freezer to ensure it is completely frozen. You will want to read the manufacturer’s instructions on their specific freeze time. I freeze mine for 24 hours. Once it is frozen, move on to step 2.
2. Make an ice bath.
Fill a large bowl with ice cubes and a cup or two of water. Place a medium bowl fitted with a fine strainer inside ice bath. Set aside.
3. Warm the milk + cream.
In a saucepan over medium heat, warm the milk, cream, about half of the sugar, vanilla seeds and vanilla pod, and pinch of salt, until steaming but not boiling. About 5 minutes, stir occasionally.
4. Whisk the yolks.
In a separate bowl, whisk the egg yolks with the remaining sugar until pale and slightly thickened ( about 1-2 minutes). This is known as the ribbon stage. When you lift the whisk, the batter falls in a thick ribbon that briefly sits on the surface before sinking back in to the egg yolk mixture.
5. Temper the eggs.
Slowly ladle half of the hot cream into the yolk mixture while whisking constantly (this keeps them from scrambling). Then pour the yolk mixture back into the saucepan to finish cooking.
6. Cook the custard.
Cook over medium-low heat, stirring constantly with a wooden spoon, until it thickens. Do not boil. You want to reach a temperature of 175 degrees F to make sure the eggs are cooked thoroughly.
7. Strain + cool.
Strain the mixture through a fine sieve into the medium bowl of your ice bath. This will catch any scrambled egg pieces, ensuring a silky texture. Let the custard cool to room temperature.
8. Chill thoroughly.
Cover and refrigerate for at least 4 hours or overnight. This resting time allows the flavors to bloom and the base to fully set.
9. Churn the magic.
Pour into your ice cream maker and churn according to manufacturer’s instructions (usually 20–25 minutes). When it reaches soft-serve consistency, transfer to a lidded container and freeze for at least 2 hours.

Tips for Slow Ice Cream Days
- Serve with fresh peaches, baked pie, or spooned into cones while barefoot on the porch.
- For a special touch, swirl in homemade jam, crumbled cookies, or bits of honeycomb before freezing.
- No ice cream maker? Freeze in a loaf pan, stirring every 30 minutes for 2–3 hours to mimic churning.
A Note From My Kitchen Table
A quiet kitchen, a bowl of something sweet, the sound of little feet running through the house. That’s what this season is about for me. Not the fanciest recipes or picture-perfect scoops, but the simple joy of making something from scratch and sharing it with the people I love. If this recipe finds its way to your table, I hope it brings you that same quiet kind of joy.

📌 Pin It & Share the Tradition
If you try this recipe, tag me on Instagram @ourlifehomemade – I love seeing your beautiful creations and how you make this tradition your own.
Shop the Post

Leave a Reply