
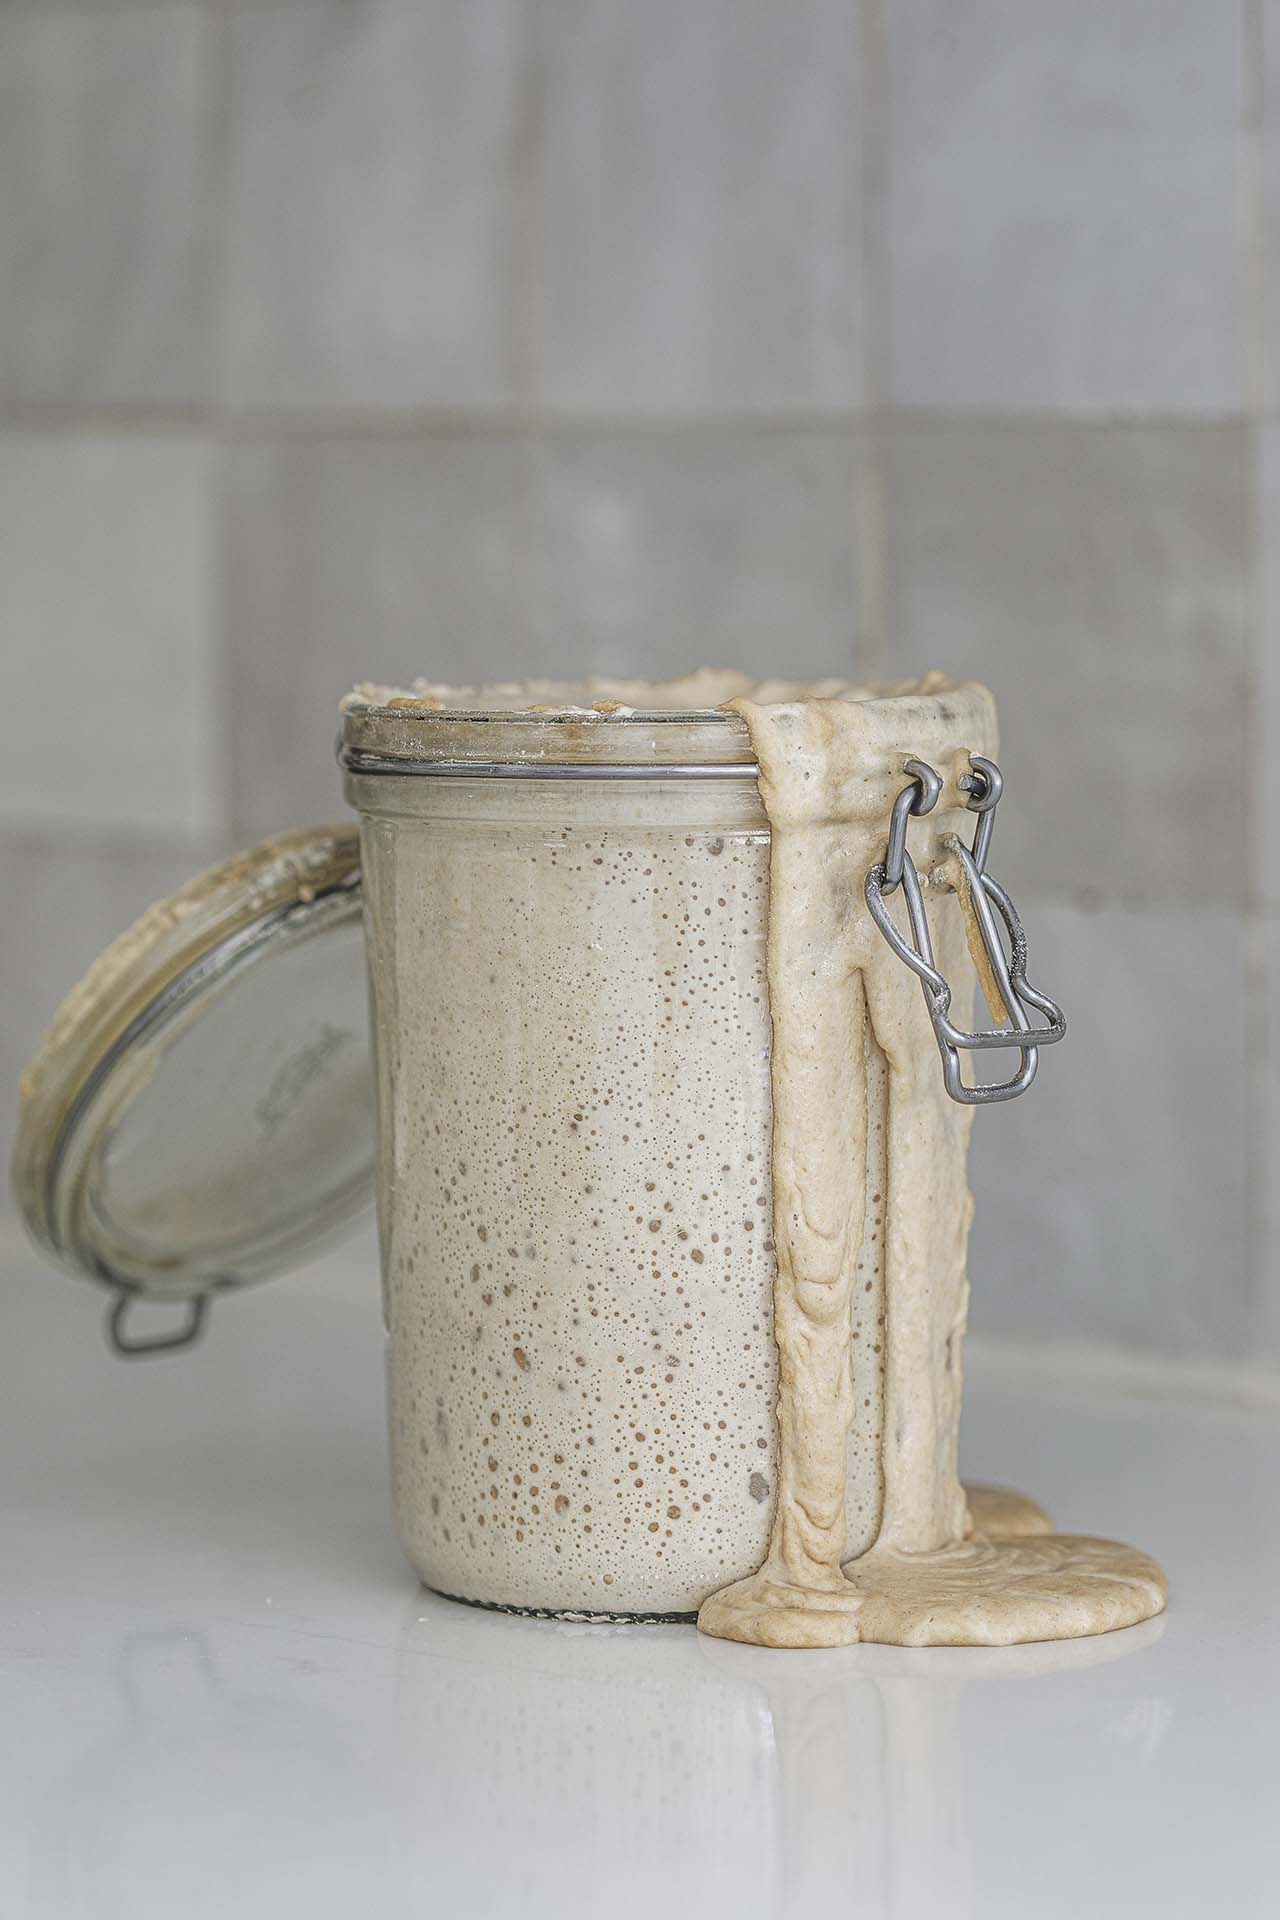
A sourdough starter is an ancient tradition that traces back thousands of years. It is a link to our past, and a way to slow down and connect to the simple art of baking. Creating one of your own might sound intimidating, but truly – it is a simple mixture of flour and water, that when combined and fed, creates a bubbling colony of wild yeasts and bacteria. This living starter is what allows bread to rise, and provides complex flavor and texture.
With some initial patience and consistent feedings, sourdough adds rewarding work to your kitchen rituals. You will soon discover that the hearty, wholesome loaves it produces are well worth the effort. It is a journey that results into one of the finest life’s pleasures – fresh, homemade bread. Embrace the tradition, embrace the flavors, and discover the magic of sourdough.
To create your sourdough starter, you will need:
- Glass Jar
- Organic Unbleached Bread Flour
- Filtered Water
- Digital Kitchen Scale
- Wooden Spoon
The Best Jar For your Sourdough Starter
You’ll want to invest in a nice glass jar to store and maintain your sourdough starter. Glass is clean, durable, and can easily be washed in the dishwasher. Avoid plastic jars as they degrade over time and can leach plastic into your starter. I keep an extra jar on hand to rotate to, when the current starter jar needs to be cleaned. I personally love these jars.

The Best Flour For Your Starter
Not all flour is created equal. You’ll need to take into account protein content, variety, and overall freshness. For best results, begin your starter with a good quality, unbleached bread flour with a protein content of at least 12.5%. Some people recommend to not use organic flour due to the enzymes, but I do, and I haven’t had any issues with it.
- Unbleached flour does not contain any chemical additives.
- Bread flour is a “thirsty” flour and therefore absorbs more water. It also has a higher protein content than an all-purpose flour (around 11.5-11.7%), therefore, it will yield a a stronger dough with better structure and overall height to your finished bread. It will also create a more chewy texture.
- For a supermarket flour, I recommend King Arthur or Bob Redmill’s.
The Best Water For Your Starter
You will want to use filtered water to feed your starter. Filtered water is free of chemicals and chlorine, which can alter the strength of your yeast. I use my remineralized reverse-osmosis water system to feed my starter. It is usually around room temperature. If the water raises the starter’s temperature above 87 degrees, the dough will become very acidic, and will begin to break down the gluten.
The Measuring Scale
A digital kitchen scale enables precise accuracy when measuring out your ingredients. This preciseness will allow you to have more control of your end results, as opposed to standard measuring cups – which can have varied weights depending on how you scoop or spoon your flour.
To use the scale, set to the gram measurement. Place your empty jar on top. Then press the “zero” or “tare” button to clear the weight. This essentially subtracts the weight of your jar, so whatever you add to it, is the only measurement your scale will read. You can then begin to add your ingredients into the jar, and zero out the weights as you add new ingredients. This all-in-one bowl technique eliminates the need to weigh each ingredient separately.

How to create your 100% Hydration sourdough starter
Harnessing wild yeast takes time and care, but the wait is well rewarded with beautiful and delicious loaves of bread. Your starter will evolve with each passing day, and develop a distinct aroma and flavor profile that is uniquely its own.
1:1:1 Ratio
To begin your sourdough starter, you will mix equal parts of water and flour together. So the ratio is 1:1. I personally do 100 grams of flour combined with 100 grams of water. Once your starter is created, you will then use the ratio- 1:1:1. Which is equal parts flour, water, and sourdough starter.
Day 1:
Measure out 100 grams of flour combined with 100 grams of water in your glass jar. Stir together until well combined. Place the lid on top, and store in a warm place in your kitchen. Let rest for 24 hours. You can place a rubber band around the jar to track your starter’s progress.

Day 2:
Check to see if there is any activity. You will want to see if your starter is bubbling and rising. This indicates that the fermentation process is working. If it has doubled in size, discard half of your starter, then feed it 100 grams of flour and 100 grams of water. Stir to combine, place lid on top and store in a warm place in your kitchen. Let rest for 24 hours.


Day 3-7:
Discard half of your starter if it has doubled in size. Feed it 100 grams of flour and 100 grams of water. Stir to combine. Place lid on top, store in a warm place in your kitchen and let rest for 24 hours. After 7 days, your starter should be strong enough to create your very first loaf of sourdough bread!

Maintaining Your SOurdough Starter:
Once your starter is growing strong and thriving, you will need to consistently feed it every day. I leave mine on the counter in my kitchen, and feed it at night before I go to bed, so it will be ready to go in the morning when I wake up if I want to make a loaf of bread. As a side note – I prefer my starter to have a thicker batter type consistency. Also, your starter should smell fresh, fruity and yeasty. If it starts to smell really sour, it is due for a feeding.
If you prefer not to feed it as much, another option is to store it in your refrigerator for “low power mode”. Give it a good feed, and let it rest on your counter for about an hour to activate the fermentation process. Then place it in your refrigerator for up to a week. When you are ready to bake with it, pull it out of the fridge and let it rest on the counter for an hour or two to warm up. Give it a good stir to to reincorporate the ingredients, and proceed with your regular feeding. You may have to give it a good two to three feedings before it is back up to full strength, and ready to bake with.

What to do with the sourdough discard:
You can use sourdough discard for so many types of baked goods other than bread. From cinnamon rolls, to pancakes; crackers and pizza dough – the possibilities are endless. Here’s how you can use it:
Discard it:
As the name suggests, simply throw it away. Do not throw it down your kitchen sink, as it hardens and can clog your drain and be a hard mess to clean. A trash can or compost is ideaI.
Bake With it Immediately:
Place the discard in a separate glass jar and cover with a lid or cloth. Store on your counter until you are ready to bake with it for the day.
Store it for future baking:
Place in a separate glass jar with a lid on top. Store in the refrigerator for up to a week. Any longer and you risk growing mold on it.
Make Another Starter:
You can create another starter with the discard. Simply place in a separate glass jar and repeat all of the steps to create a new starter!
Give to Someone Else:
You can always give the gift of sourdough to someone else with your discard, so they too can begin the beautiful process of making their own bread.
Trouble Shooting:
Don’t get discouraged if you don’t get your sourdough starter right the first time. It took me a couple of tries. The first time, mine grew mold on it because I was following directions too closely. Sourdough is unique to the ingredients you use and the environment around you, therefore, it takes on a life of it’s own. Use your intuition to let it guide you, and experiment with what works best. The best way we learn is by experimenting and not giving up. Here are some trouble shooting tips:
Mold:
You want your starter to resemble the color of the flour you are using. I used whole wheat flour in the beginning of the starter you see pictured to get my starter to activate more quickly. But if the starter starts to get patches of orange, pink, or black, or fuzzy – it’s time to throw it out. Mold grows if your starter has gone too long without a proper feeding, and therefore the bad bacteria start to take over the good bacteria. If anything is questionable to you, just start over at this point. Don’t scoop it off of the top because mold is full of spores, and no one wants moldy bread.
Your Sourdough Starter Isn’t Rising:
Try feeding your starter two times a day to see if it helps with the rise. It may need an extra boost to help it’s development.
You can also try adjusting your flour. Substitute half of your flour (so 50 grams) with rye flour and 50 grams of bread flour. Rye flour is more nutrient dense and will help activate the development of your starter more quickly. Once it begins to show consistent signs of activity, you can switch back to using bread flour for regular feedings.
I hope this post was helpful. I tried to condense as much as the information as I could without being too overwhelming. Sourdough is a bit of a science, but it is also an intuition-led process. Have fun with it, don’t give up, and if you have any questions, please feel free to leave a comment below!
Leave a Reply